Windows 10 update problems have affected many users. We’ve dedicated to offering workable solutions to fix all Windows 10 issues during update and after update. See below to fix Windows 10 high memory usage issue.
Many Users Got High Memory Usage Issue after Windows 10 Upgrade
Another Windows 10 update issue again! Many users reported that RAM and CPU usage went up after installing Windows 10. The detailed situations of this Windows 10 high CPU/RAM memory usage issue are like that “I’m having an issue, very high memory usage by System”, “playing games on my computer uses almost all 4 GB usage on Windows 10”, “I installed Win 10 but got high RAM usage. It tends go up to 90% without anything substantial open”, “I updated my PC to Windows 10 but during few hours of usage memory builds up again to 70% and if not restarted it further goes to 100% and later on even freezes and crashes”, "Windows 10 running high cpu usage"……
Read more:
What Causes the Windows 10 High Memory/RAM/CPU Usage
Less RAM of your computer is not the cause. Users having 4GB of RAM have less complaints, while more and more users with 8GB and even 16GB of RAM have experienced high RAM usage problems after updating to Windows 10. There are several key reasons why the memory usage runs out after installing Windows 10.
- Memory leak. Windows 10 is experiencing driver incompatibility issues. A faulty or outdated driver can lead to a Memory leak.
- Windows 10 and the applications you have installed on it needs a few more RAM memory to operate
- Registry hack settings can lead to high RAM usage on Windows 10.
This issue may cause computer crashing, freezing, and running slower and slower. Bad performance. Luckily, there are easy solutions to solve this high memory/RAM/CPU usage issue on Windows 10.
Top 10 Ways to Fix High RAM/CPU Memory Usage on Computer after Windows 10 Upgrade
We’ve summed up 10 best solutions to help you fix this memory usage going high on Windows 10. You can try any of them on your laptop, desktop PC or notebook computer of Lenovo, Asus, Acer, Dell, HP, ThinkPad, Toshiba, IBM, Sony, Gateway, Samsung, IBM, etc.
Top 1. Registry Hack
In fact high memory usage not only occurs in Windows 10, but also happens in Window 8 and Windows 8.1. The Windows 8/8.1 registry hack can fix this high memory issue in Windows 10.
Step 1. Hit Windows Key + R Type in Regedit and then hit Enter.
Step 2. Go to: HKEY_LOCAL_MACHINE\SYSTEM\CurrentControlSet\Control\Session Manager\Memory Management in the editor.
Step 3. Find ClearPageFileAtShutDown and change its value to 1.
Step 4. Restart the computer.
Top 2. Fix Driver Issues on Windows 10 with 1 Click
It’s really hard to check the driver issues manually, but there is one all-in-one driver fix tool, Driver Talent (formerly called DriveTheLife), which helps you 1 click to find out the driver problems and then fix them 1 click. You can try this tool to repair the corrupted, damaged, or incompatible drivers, download and install the best-matched drivers if they are missing, and update to the latest drivers if them are outdated.
Download and install Driver Talent on your computer.
1,101,554 people have downloaded it
Updated: DriveTheLife has been updated to the new version called Driver Talent with a fresh new look.
Step 1. Run Driver Talent to scan your computer to identify all driver issues.
Step 2. Fix the driver issues by clicking on the buttons of “Repair”, “Update”, “Reinstall”, “Install”, etc.
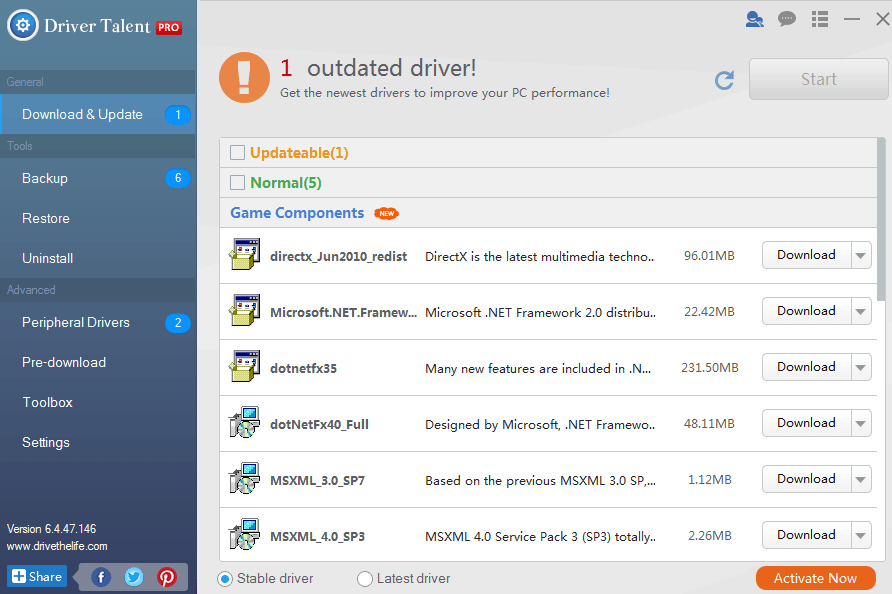
Step 3. Restart the computer after all the drivers are fixed.
Top 3. Fix Driver Issues Manually
Step 1. Download and install Windows Driver Kit from Microsoft official website.
Step 2. Go to the “Start” menu from Windows key and open “Command Prompt”. Right click on the resulting icon and select “Run as Administrator” from the drop-down men.
Step 3. Type “cd C:Program Files (x86)Windows Kits8.1Toolsx64” and press “Enter” to go to the directory in the command prompt where WDK was installed
Step 4. Type “poolmon.exe” and then press “Enter”. When the utility opens up, press “P” to sort via pooltype and then “B” to sort it according to number of bytes.
Step 5. Note down the pooltag of the item which is using a majority of the memory. Open another command prompt to check which driver the tag belongs to. For this type f indstr / s then the tag which you have noted
Step 6. The command will point to a specific sys file. Open the file properties to check which driver the file belongs to.
When you find out the driver, head over to the Microsoft site to download the official driver for Windows 10. Alternatively, try Driver Talent to install the Windows 10 drivers (all drivers are official and WHQL ones from manufacturers and from Microsoft).
Top 4. Adjust for Best Performance
Step 1. On the start screen of Windows 10, click on the “Desktop” icon.
Step 2. Right click on “Computer” icon and select “Properties”.
Step 3. Select “Advanced System settings” to go to the “System properties” windows.
Step 4. Select “Settings”, “Adjust for best performance” and “Apply”.
Step 5. Click “OK”. Restart your compuer.

Top 5. Check All Apps Your Are Using
Open the task manager and look into the process tab to check if one of your apps is using more RAM memory then it is supposed to.
Uninstall the apps that you are not using on Windows 10.
Top 6. Disable Programs Running at Startup
It’s suggested that you’d better disable as many programs as possible that are running at startup on Windows 10. This helps to save lots of CPU memory usage.
Step 1. Press the Windows button and “R” at the same time.
Step 2. Type “msconfig” without the quotes in the run window and press “Enter” of the keyboard.
Step 3. The Task manager window pops up. Click on the “Startup” tab and you will see a list of programs that run at startup.
Step 4. Right click on the applications that you don’t want to run at startup and select “Disable”.
Top 7. Defragment Hard Drives
Step 1. Press the Windows button and “R” at the same time.
Step 2. Type “dfrgui” without the quotes in the run window and press “Enter” of the keyboard.
Step 3. In the new window click on the hard drives you want to defragment.
Step 3. Click “Optimize” and follow the instructions on the screen to finish the defragment process.
Step 4. Restart your computer.
Top 8. Close As Many Applications As Possible
Only open the applications you need on Windows 10. Close other applications that you don’t use at that time, especially when you update to Windows 10 on older computer.
Top 9. Scan to Check Third Party Programs
Run a full system virus to scan on your Windows 10 computer to make sure that you don’t have any third party programs that make your system RAM take up more usage.
Top 10. Reboot Your Computer
This is simple but always helpful, especially when the Windows 10 operating system is not working at the speed you think it should be. Rebooting your computer can ensure that you don’t have blocked applications in your process.
Updated: Another useful solution you can try is to get another hard drive. This can help to ease the uptight CPU usage. Thank you for all the readers who share workable methods with us.
These methods can ensure that your Windows 10 only uses the necessary RAM or CPU memory and that the computer is working at the speed it should be. Try any of them till you fix the high memory usage issue after Windows 10 update on your computer. If you have any problem, leave it in your comment, or share this post with your friends if you find it helpful.
No comments:
Post a Comment